
Testing Workflows
Always test your workflows before activating them! This ensures everything works as expected.
Why Test?
Section titled “Why Test?”Testing helps you:
- Verify nodes are configured correctly
- Check connections work as expected
- See actual data flow
- Catch errors before they affect real users
Testing Methods
Section titled “Testing Methods”Method 1: Manual Test Run
Section titled “Method 1: Manual Test Run”The safest way to test:
Click "Test" Button
Find the Test button in the workflow builder toolbar
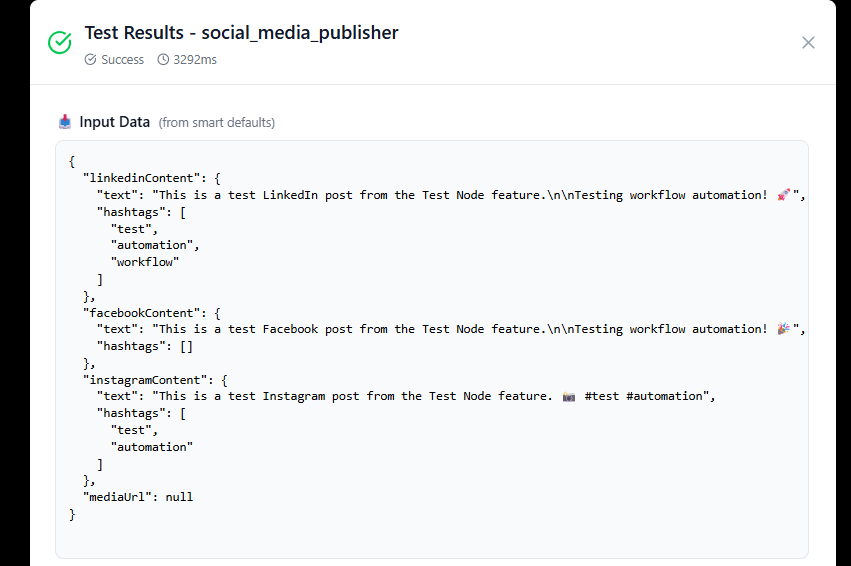
Provide Test Data
If prompted, enter sample data for testing
Watch Execution
See each node execute in real-time
Review Results
Check if outcomes match expectations
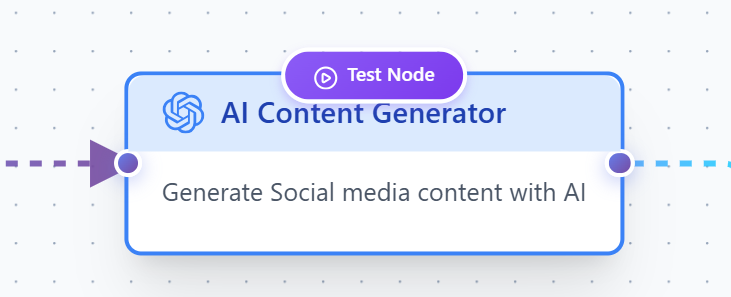 Test Execution - Show workflow running with progress
Method 2: Use Manual Trigger
Section titled “Method 2: Use Manual Trigger”Add a Manual Trigger node for testing:
- Create workflow with Manual Trigger
- Connect your actions
- Click “Run” to test
- Replace with real trigger when ready
What to Check
Section titled “What to Check”✅ Configuration Checklist
Section titled “✅ Configuration Checklist”- All required fields filled
- Email addresses correct
- API keys valid
- Trigger settings appropriate
- Connections properly made
✅ Data Flow Checklist
Section titled “✅ Data Flow Checklist”- Variables resolve correctly
- Data reaches all nodes
- Transformations work as expected
- Conditions evaluate properly
✅ Output Checklist
Section titled “✅ Output Checklist”- Emails sent to correct recipients
- Messages formatted correctly
- No sensitive data exposed
- Timing is acceptable
Reading Execution Logs
Section titled “Reading Execution Logs”The execution log shows what happened:
✓ Manual Trigger - Started✓ Email Node - Email sent successfully✓ Slack Node - Message posted✓ Workflow Complete - SuccessUnderstanding Log Entries
Section titled “Understanding Log Entries”- ✓ Green - Node executed successfully
- ⚠ Yellow - Warning (still worked)
- ✗ Red - Error (node failed)
- ⏸ Gray - Skipped (conditional branch)
 Workflows Dashboard - Show grid/list of workflows
Common Test Scenarios
Section titled “Common Test Scenarios”Test 1: Basic Email
Section titled “Test 1: Basic Email”Goal: Verify email sends correctly
- Use your own email as recipient
- Run test
- Check inbox (and spam folder)
- Verify subject and message are correct
Test 2: Conditional Logic
Section titled “Test 2: Conditional Logic”Goal: Test both branches
- Run test with data that triggers “true” branch
- Verify correct action executes
- Run test with “false” data
- Verify other branch executes
Test Case 1
Priority = "high" → Slack ✓
Test Case 2
Priority = "low" → Email ✓
Test 3: Data Transformation
Section titled “Test 3: Data Transformation”Goal: Verify data transforms correctly
- Provide sample input data
- Run transformation node
- Check output matches expected format
- Verify next nodes use transformed data
Test Data
Section titled “Test Data”Use Realistic Test Data
Section titled “Use Realistic Test Data”- Real email addresses (yours) - Actual format samples - Edge cases (empty fields, special characters) - Various scenarios (high/low priority, etc.)
- Customer email addresses - Production data - Sensitive information - Invalid formats
Debugging Failed Tests
Section titled “Debugging Failed Tests”When a test fails:
Find the Error
Check execution log for red ✗ marks
Read Error Message
Click the failed node to see details
Fix the Issue
Update configuration or connections
Test Again
Run another test to verify fix
Common Errors
Section titled “Common Errors””Email failed to send”
Section titled “”Email failed to send””- Check API key is valid
- Verify “from” address is authorized
- Ensure recipient email is correct
”Variable not found”
Section titled “”Variable not found””- Check variable name spelling
- Verify data exists in previous nodes
- Use correct syntax:
{{data.field}}
”Trigger not firing”
Section titled “”Trigger not firing””- Check trigger configuration
- Verify credentials (Google, etc.)
- Ensure conditions are met
Testing Best Practices
Section titled “Testing Best Practices”1. Test after each major change 2. Use your own contact info for testing 3. Test all conditional branches 4. Verify with different data scenarios 5. Check execution time is reasonable 6. Review all outputs before activating
When You’re Ready
Section titled “When You’re Ready”After successful testing:
- Review execution logs one final time
- Verify all test emails/messages look correct
- Update any test-specific configurations
- Toggle workflow to “Active”
- Monitor first few real executions
Once your workflow passes all tests, you can confidently activate it knowing it will work correctly!
Next Steps
Section titled “Next Steps”- Managing Workflows - Organize and maintain
- Examples - See tested workflows
- Best Practices - Design tips