
Create Your First Workflow
Let’s build your first workflow together! We’ll create a simple automation that sends you an email when you click a button.
🎯 What You'll Learn: How to use triggers, actions, and run workflows
Step 1: Open the Workflow Builder
Section titled “Step 1: Open the Workflow Builder”- Log in to your CiraIQ dashboard
- Click the “New Workflow” button
- Give your workflow a name like “My First Workflow”
 Dashboard - Show where to click “New Workflow” button
Step 2: Add a Manual Trigger
Section titled “Step 2: Add a Manual Trigger”A Manual Trigger lets you start your workflow by clicking a button. It’s perfect for testing!
- Look at the left sidebar - you’ll see different node types
- Find the “Manual Trigger” node
- Drag it onto the canvas (the main area)
- Drop it anywhere you like
Step 3: Add an Email Action
Section titled “Step 3: Add an Email Action”Now let’s add an action that sends an email:
- Find the “Send Email” action in the left sidebar
- Drag it onto the canvas below your trigger
- You’ll see both nodes on the canvas
Step 4: Connect the Nodes
Section titled “Step 4: Connect the Nodes”Now we need to connect the trigger to the action:
- Look for the small circle on the right side of the Manual Trigger node
- Click and drag from that circle to the Email node
- You’ll see a line connecting them - that’s the workflow path!
 Connecting Nodes - Show the drag-and-connect action
Manual Trigger
Click "Run" button
Send Email
Email gets sent
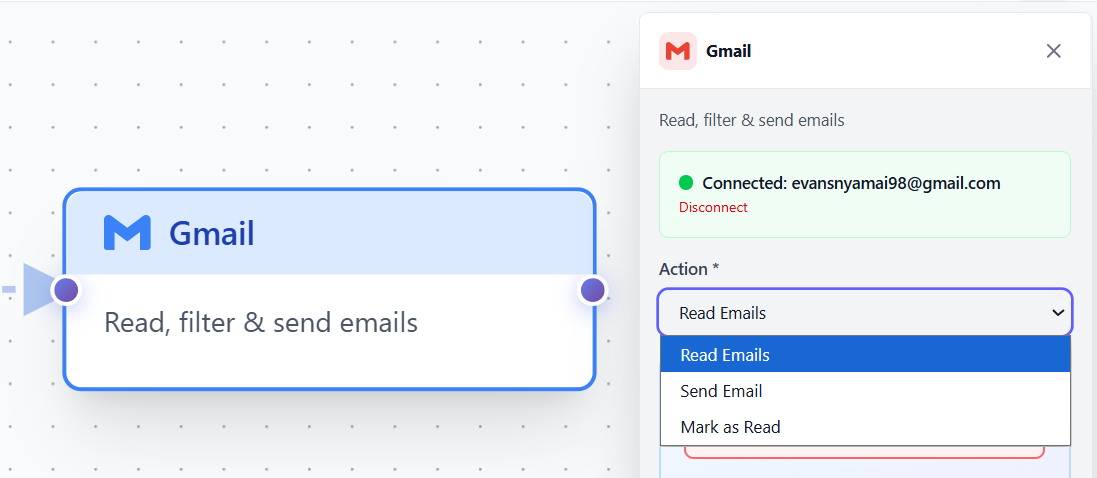
Step 5: Configure the Email
Section titled “Step 5: Configure the Email”Click on the Email node to open its settings:
- To: Enter your email address
- Subject: Type “My First Workflow Works!”
- Message: Type “Congratulations! You’ve created your first workflow.”
 Email Configuration Panel - Show filled out settings
Step 6: Save Your Workflow
Section titled “Step 6: Save Your Workflow”Don’t forget to save!
- Click the “Save” button at the top right
- Your workflow is now saved and ready to use
Step 7: Run Your Workflow
Section titled “Step 7: Run Your Workflow”Time to test it!
- Click the “Run” button (usually next to the Save button)
- Watch as your workflow executes
- Check your email inbox - you should receive the email!
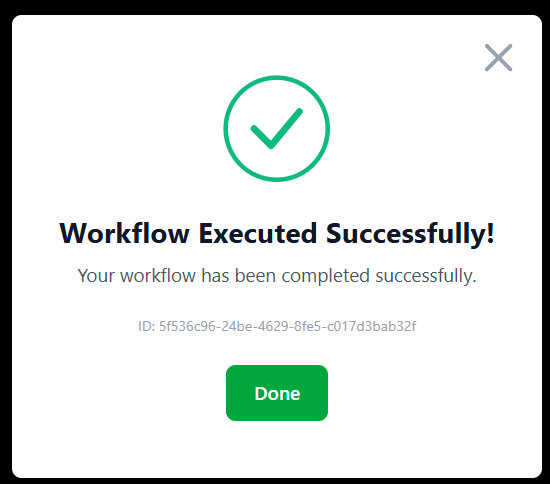 Execution View - Show workflow running with progress indicators
If you received the email, congratulations! You've just created and run your first workflow.
What You Learned
Section titled “What You Learned”In this tutorial, you learned how to:
- ✓ Create a new workflow
- ✓ Add nodes (trigger and action)
- ✓ Connect nodes together
- ✓ Configure node settings
- ✓ Save and run a workflow
Troubleshooting
Section titled “Troubleshooting”Didn’t receive the email?
- Check your spam folder
- Make sure you entered the correct email address
- Check the execution logs to see if there were any errors
Can’t connect the nodes?
- Make sure you’re dragging from the small circle on the right side of nodes
- Try zooming in if the circles are too small
Next Steps
Section titled “Next Steps”Now that you’ve created your first workflow, try these:
- Understanding Workflows - Learn more about how workflows work
- Explore Triggers - Discover different ways to start workflows
- View Examples - See real-world workflow examples